My Top 20 Travel Photography Tips
Based on my experiences and learning from my mistakes, below is a list of my Top 20 Travel Tips which will hopefully help you take better pictures when travelling.
- Plan your day – do some research…read up a bit about where you going and whats in the area, and if you know anyone who has been there, ask them about their experience and suggestions.
- Set out early and stay out later – apart form the benefits of great lighting for taking photos, you will get to areas before the crowds (tourists or locals) arrive, or once they have left – a great benefit for when taking pics in Top Tourist Spots. Also once the sun goes down and the lights go on, a whole new world opens up, offering a vastly different take on the day image of that location.
- Travel light – carrying too much limits you more than you think it will … there are many great travel bags for full day excursions or just walking around, many will allow you to flip them on your back or fling over your shoulder, thus freeing up your arms up to take photos without putting things down.
- Carry spare Batteries and Memory cards on you at all times – there is nothing worse when taking pics than having your camera battery die on you, or finding out that your memory card is suddenly full – and then not having spares on you. You get Memory Cards that offer a lot of storage, but they can fill up quicker than you think, especially if you are shooting in Raw Image Format which results in much larger files, and/or if you are shooting bits of video as well …. so always carry one or two additional ones with you.
- Always have your camera on you and ready – remember the best camera is always the one on you, and in some cases it might just be your phone camera, or a smaller camera you are inclined to carry around more…. having it easily accessible (like in your pocket and not at the bottom of a bag) allows you to capture images even at times you were not planning on taking pics.
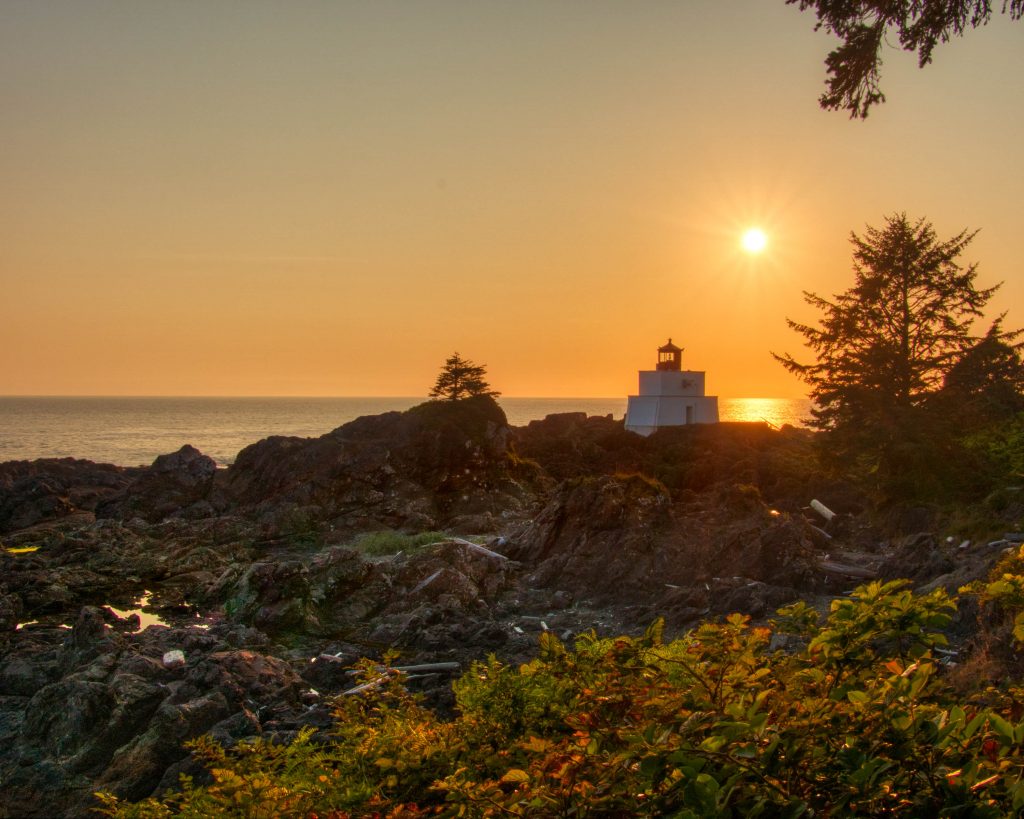
- Best Natural Light for taking photos – Just before, during and just after Sunrise and Sunset – these are the magic hours for taking photos for landscapes especially, but also good for shooting people, buildings etc. The Hour AFTER Sunrise and the Hour BEFORE Sunset are known as the “Golden Hours” because of their gentle warm tones and soft shadows. The Hour BEFORE Sunrise or AFTER sunset, when the sky is still blue but the city lights are still on, are known as the “Blue Hours”. The location of your subject matter may determine when is the best time to shoot – ie if a piazza is east facing, you’ll want to shoot it in the morning, as in the afternoon it might not get any sunlight due to the surrounding buildings etc.
- Chat to locals – in cafes, at bus stops, the sales assistant in a store etc. etc … often you will hear about off-the-beaten-track areas to go to, or something happening you were unaware of …. dont be afraid to ask – you’ll be amazed how people who love their cities or villages are eager to talk about life there, and what you shouldn’t miss out on.
- Go to events, festivals, day markets if possible – you will experience the culture and are bound to capture great moments not possible on a regular day.
- Walk as much as possible – and if you need to get somewhere quicker, take public transport, you are bound to see and discover more than driving around esp within specific areas.
- Don’t rush though a place – take your time and savor all around you – this way you are bound to notice details in your surroundings which often become the highlights of your trip.
- Use different lenses or cameras (If possible)…… there are benefits to having different lenses, or cameras with different lenses… ie a wider lens is great for landscapes or cityscapes and architectural shots, however they can distort people, so are not ideal for street photography… that’s where a standard lens is more beneficial. A zoom lens is also great for getting a more detailed image of things you cant get close to, however the longer the zoom, the bigger and heavier the lens… which can limit you at times – but for wildlife and action shots it can be a dealbreaker. Camera Technology has improved in leaps and bounds over the past few years, and there are now some premium smaller compact cameras with larger sensors that offer decent built in zoom lenses – making them ideal for traveling.
- Don’t be afraid of people in your scene – often its that person or people in the shot that tells a story and gives that image some life.
- Be Patient & Pay Attention to details – wait a few minutes for the sun to come out from behind that cloud, or get into a comfortable spot with a view of your subject matter…be it a bridge or street corner, or watering hole in a game park …be patient and wait for a your subject to enter your scene. A little bit of patience will often present you with a fantastic photo opportunity.
- Shoot in Vertical & Horizontal Format – shooting in landscape is the auto pilot in most of us, so make a point of flipping your camera and shooting in a vertical format as well, as it really focuses one on an element or subject in a more direct way – this is the reason why most magazine images for editorial or advertising are shot in a vertical format. Once you get used to flipping back and forth it will become instinctive and you wont think twice about doing it as your subject matter will dictate the format you shoot in.
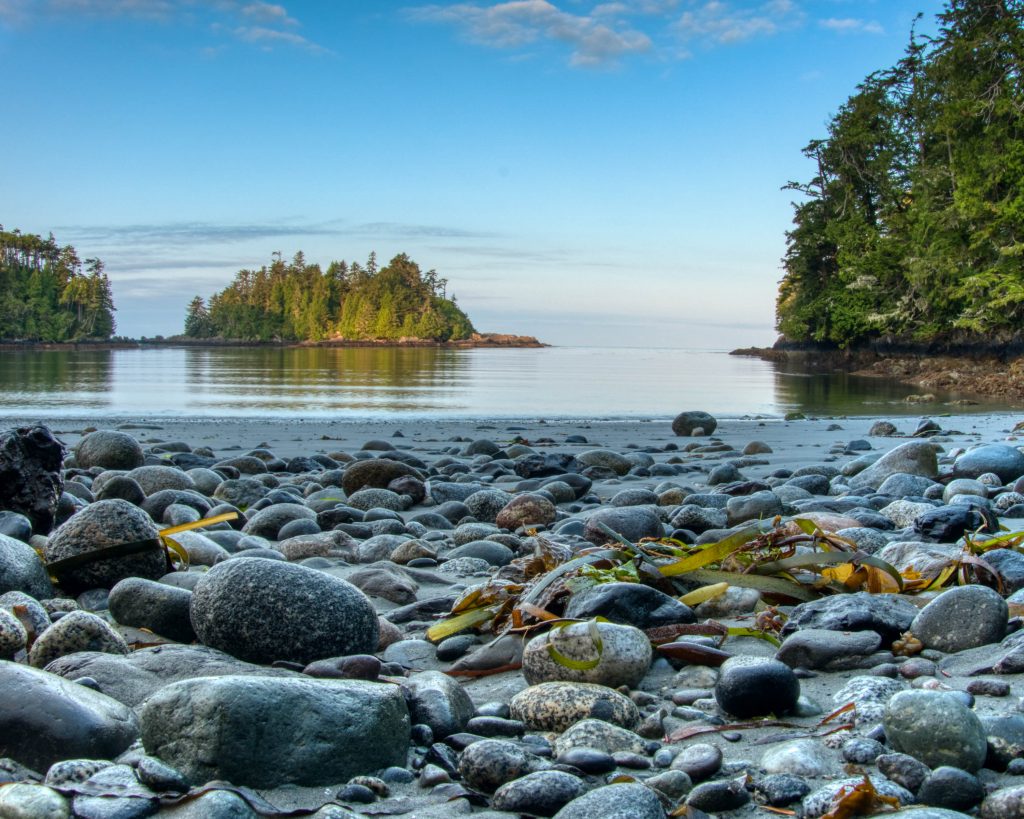
- Be Flexible – get down and dirty… don’t be scared of getting down on the ground or leaning over the balcony or out the window or get into the water etc as it will open up alternative and unusual viewpoints.
- Use a tripod and slower shutter speeds – this is a great benefit for when shooting landscapes or cityscapes or for shooting in low light. There are many small tripods out there suited for traveling and that wont weigh you down.
- Look for details in your surroundings – especially elements that add to the scene, like rustic doorways in an old village ”look for one that stands out – like the one that has a bike leaning against it etc, or that colorful window flower box set against a rustic brick wall, or that person on the balcony smoking etc.
- Look past the tourist spots – go down the side lanes, explore the area around you, and quite often even in a key tourist area you will come across scenes offering up exciting opportunities for great images just around the corner from key area.
- Filters or Camera Effects – If you have a camera that allows you to attach filters, then you will benefit greatly by having a Polarizer and ND Filter with you, especially if you are shooting landscapes or cityscapes. Apart from protecting your lens, they can greatly enhance your images. The polarizer is used to cut out glare and reflections, like when shooting water or through a window, they also add contrast and punch up colors, especially in skies with clouds, and water …creating more dramatic effects. Keep in mind that in some cases you will want to see the beautiful reflections in the water so in that case you would not use a Polarizer. ND (Neutral Density) Filters don’t affect the color of your image at all, but are of great benefit when shooting in bright light like mid day, as it basically cuts light entering the camera, and balances the exposure so you don’t get overexposed images due to blinding sunlight. If you have a camera that doesn’t allow you to attach a filter then you should make use of cameras image settings and try shooting using some of their built in creative filters – like try shooting a landscape in B&W etc.
- Back up your photos – online if you can or via a small portable drive or even memory stick.
Travel Advice & Tips (see below)
In my opinion Travel Photography is one of the most rewarding genres of Photography as it really is your personal take on your travels. It encompasses such a wide spectrum within the Photography genre that you will probably find yourself leaning towards some avenues of it more than others, depending on your interests….and what sort of travelling you are doing – ie is it a sightseeing or an adventure trip etc.
In a nutshell it really covers everything from Cityscapes, Landscapes, Action, Wildlife, Food & Product to Street Photography which in its own right can also be quite documentational or journalistic at times.
No matter what aspect you prefer, if your intent is to take great pics you will need to plan ahead as to what Camera and equiplent to take as well as figure out how you’ll get around, and also very importantly …. plan your time and goals carefully.


